We’ve got some nice pumpkins out in our little pumpkin patch this year, and I decided it would be good to make some pumpkin puree and freeze it. I first made a Pumpkin Spice Latte and it was delicious! For those of you that are hot coffee drinkers, you can find the pumpkin spice latte recipe here on my Home Coffee Recipes website. So today I decided to try a pumpkin spice frappuccino. (I actually forgot to put the pumpkin spice in and it still tasted delicious, but I’ve added it to the recipe)
I didn’t follow any specific recipe, I just made my own concoction and dumped it all in lol I’ve been making flavored coffee drinks at home for years, so I’ve gotten pretty good at getting the amounts right for the right flavor.
Let me tell you, I wasn’t quite sure how this was going to turn out though. I decided at the last minute to try the new Monk Fruit sweetener I bought off Amazon. I’ve used it in a few things now and I really like it, but I wasn’t sure how it would taste with the pumpkin spice frappuccino. It was perfect! I did go a little on the heavy side, 1/4 cup, but It seems you need to use more of this sweetener to get it sweet enough. Thankfully it is calorie free! 1/4 cup of the Monk Fruit sweetener was perfect for my taste though.
Ok, so let’s get this pumpkin spice frappuccino party started!
Pumpkin Spice Frappuccino Recipe
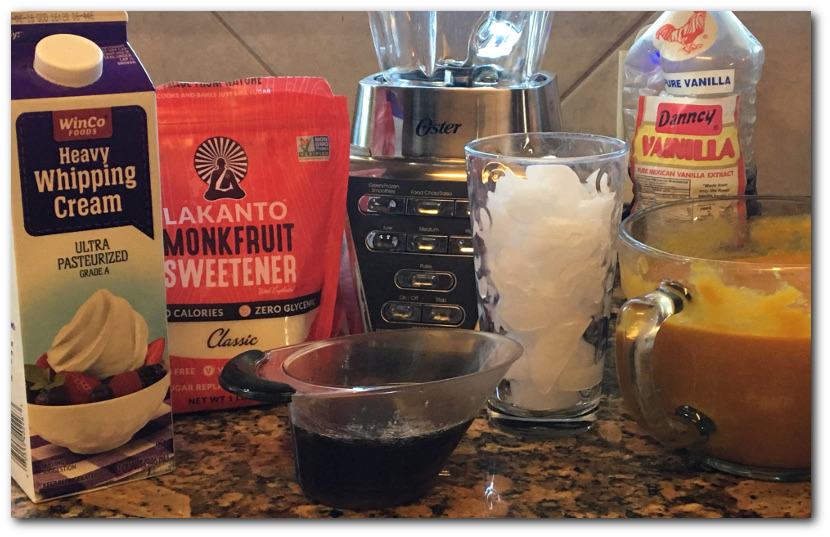
First, here are the ingredients…
- 1/4 cup coffee
- 1.5 cups ice
- 1/4 cup Monk Fruit Sweetener
- 1 Cup pumpkin puree
- 1/2 cup heavy whipping cream
- 1/2 tsp Vanilla (I used Danncy Vanilla that my mom brought home from Mexico. They have it here on Amazon: Danncy Vanilla)
- 1 tsp Pumpkin Pie Spice
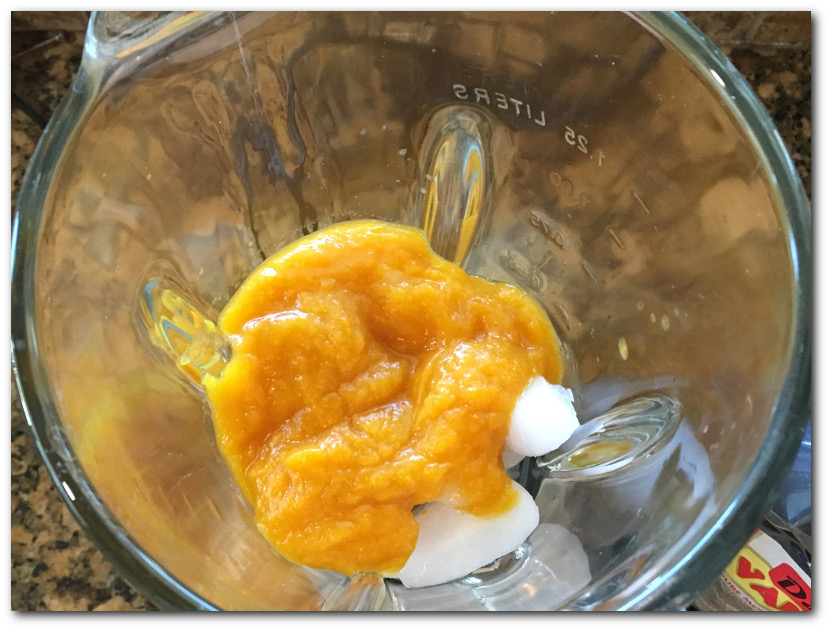
Add 1.5 cups of ice or just fill a 20oz glass a bit less than full. Then 1 cup of pumpkin puree.
Next add 1/2 cup heavy whipping cream
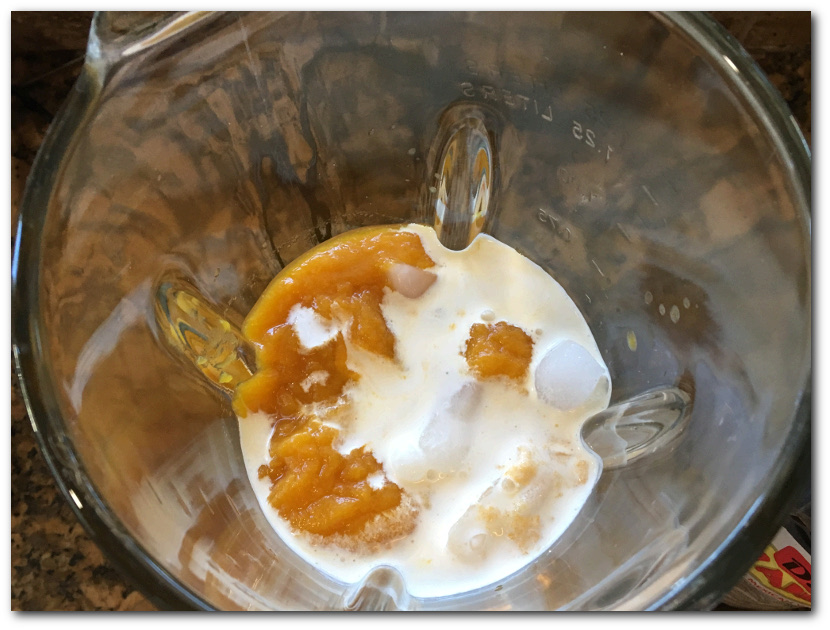
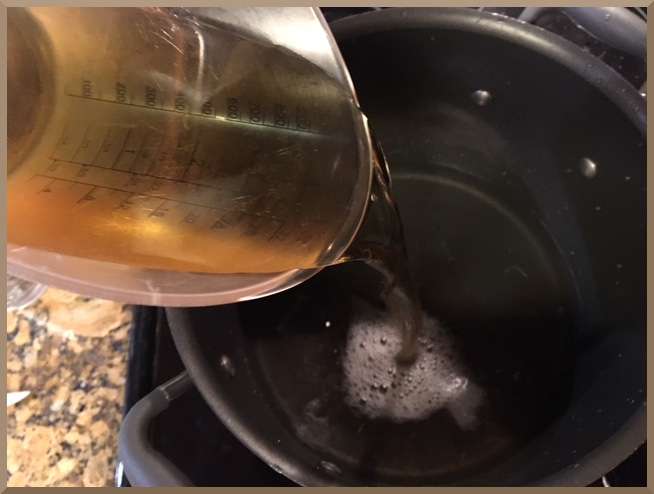
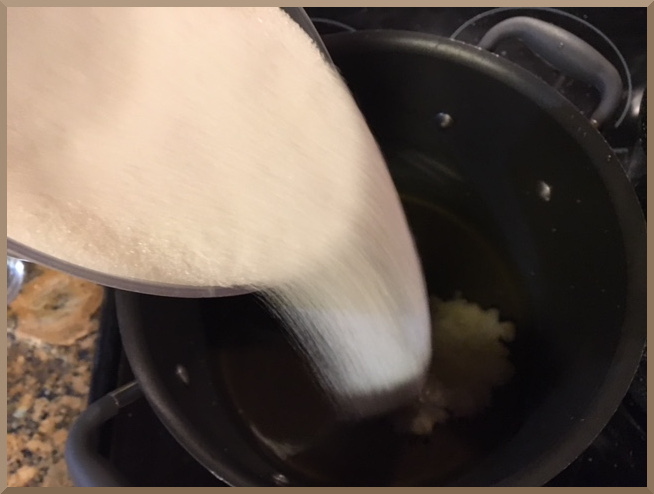
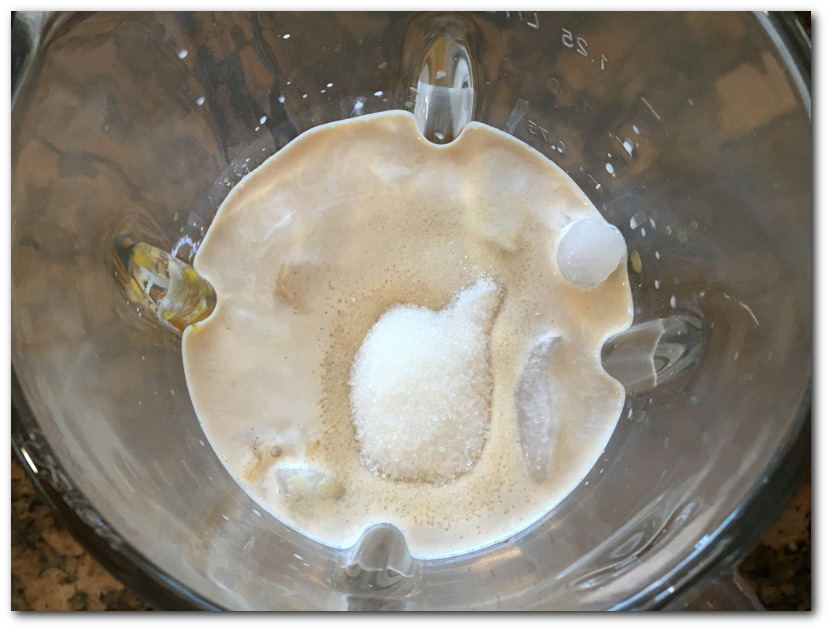
Then add 1/4 cup coffee, 1/2 tsp of vanilla and 1/4 cup of Monk Fruit Sweetener. You can also add 1 tsp of pumpkin pie spice here as well. I forgot to add it in mine but it would have been even more amazing if I had!
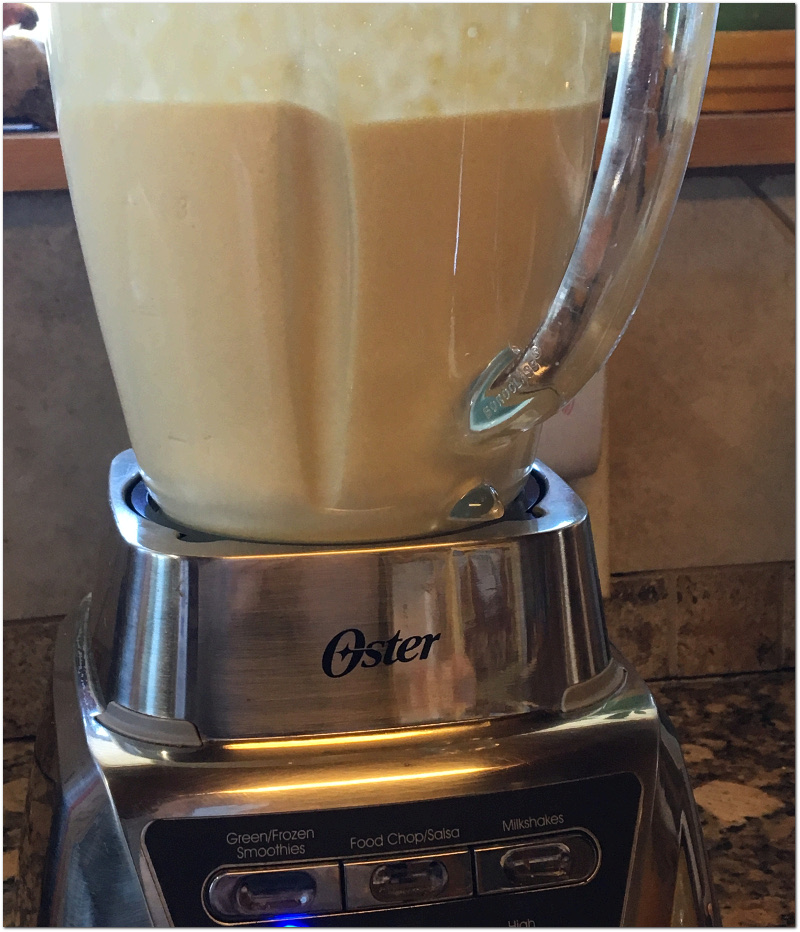
Now it’s time to blend! Blend the frappuccino for about 30 seconds, making sure it’s nice and smooth. A lot of people don’t blend their frappuccino’s very well and end up with little chunks of ice. Of course, if you like the chunks of ice then blend for less time 😉
If you don’t have a good blender, I recommend Oster for a really good, affordable blender. I love mine!
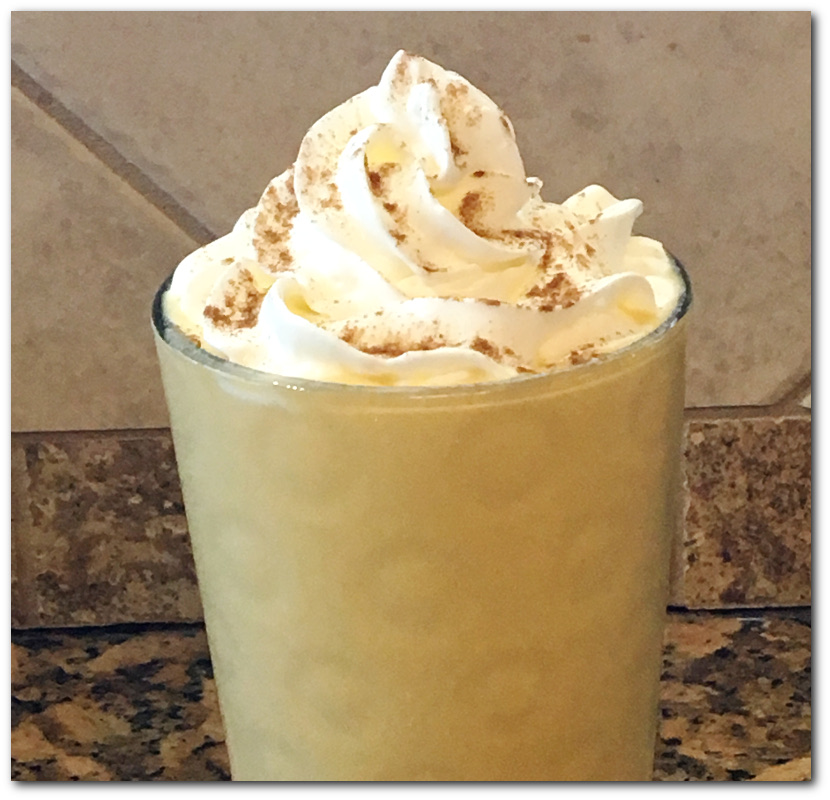
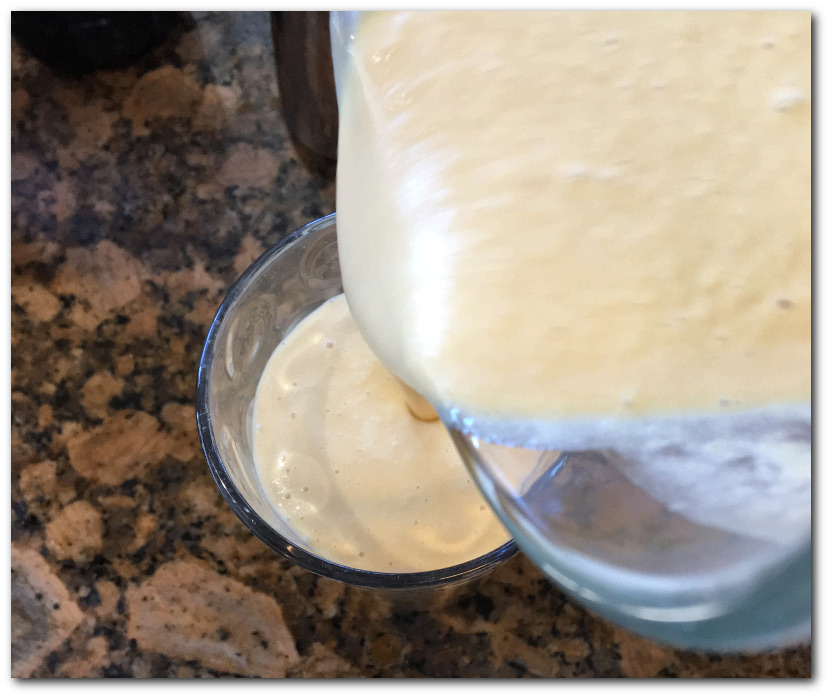
After it’s blended nice and smooth and creamy, pour that delicious goodness into a glass…..
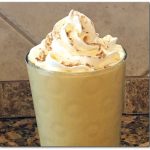
Add some whipped cream and sprinkle some pumpkin pie spice on top (nutmeg or cinnamon will do if you don’t have pumpkin pie spice) and enjoy!! Of course you can leave out the whipped cream if you don’t want the extra sugar.
I love this recipe and I was surprised at how good it tasted even though I left out the real sugar and made it low carb/keto friendly. I’m not on the keto diet and don’t plan to be, but I’m all for replacing some things with a low carb version and using less added sugar. This turned out super yummy without regular sugar so I’ll definitely be making it like this again!
A delicious pumpkin spice frappuccino that is easy to make AND low carb/keto friendly!
- 1/4 cup coffee or 2-3 shots espresso. Best if it’s cooled some so it doesn’t melt the ice too much
- 1 2/3 cups ice cubes
- 1/2 cup heavy whipping cream could use half & half or even low fat milk if you want less fat. I can’t gurantee it’ll still taste great though 😉
- 1 cup pumpkin puree
- 1/2 tsp vanilla
- 1 tsp pumpkin pie spice optional
- 1/4 cup Monk Fruit Sweetener or sweetener of your choice. If you don’t have or don’t like sweetener, by all means, use regular sugar!
-
Add all ingredients to a blender and blend for 30 seconds. Pour in a glass, top with whipped cream if desired and sprinkle with pumpkin pie spice. ENJOY!
Buy Some of the Ingredients Now…