
We’ve lived here on the farm for 2 years now. When we moved here, the plum tree that is here was still young and small. We got a few plums the first year, a bit more last year, but this year the tree was “plum” full! 😉 We will be pruning it this year so that hopefully next year it will grow more full and wide instead of tall, and hopefully we’ll get even more (unless its an off year because of pruning 🙁
With all those plums, I had thought about making jam, but that’s a lot of jam and we just don’t eat much of it anyway even with 3 boys. So, I decided we should just try canning the firmer ones whole and the softer plums I will turn into jam.
This is the first year I’ve actually canned anything myself, so of course this is the first time I’ve canned plums! I used a basic plum canning recipe and added a few spices to it, not knowing how it would turn out, but if you’re gonna jump in you might as well jump all in!!
I’ll give it away though…. These canned plums with the spices added taste delicious! They taste like Christmas lol
Speaking of jumping in, lets get to the recipe!
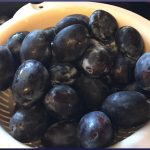
Canning whole plums is so easy! First pick your plums, wash them and pull off any stems. Pick out the firmer plums for canning. Plums that are fairly soft can be eaten or used for jam or whatever else you can think of.

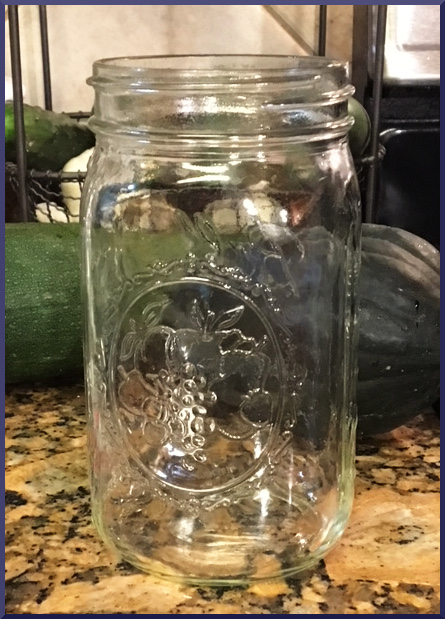
Next, get your quart jars ready. Wide mouth jars are best for canning whole plums. It’s just easier to get them in and out of the jar and you can fit a couple more in than you can with narrow mouth jars. If you don’t have wide mouth quart jars, that’s ok, just use what you have.
To get your jars ready, make sure you’ve washed them in the dishwasher, or if you don’t have a dishwasher, scrub them really well with hot soapy water. Next, get your water bath canner kettle filled about 2/3 full with water, cover with the lid and bring it to a boil. This is going to take awhile, so it’s something you could get started before washing the jars if you like.
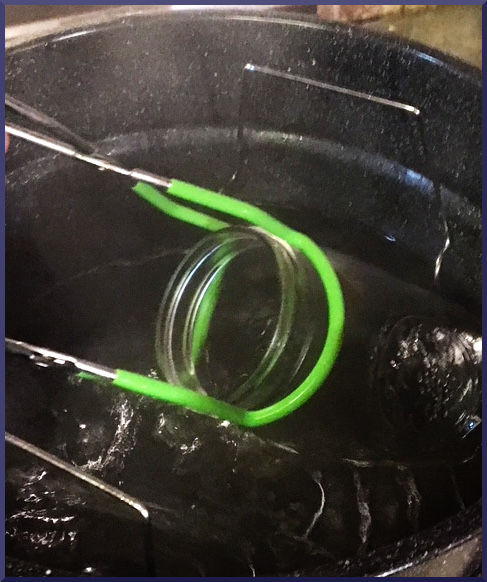
Once the canner is boiling, go ahead and use your handy jar grabber thingy (canning jar lifter) and place 3 quart jars into the boiling water on their sides so the water can get inside them and just leave them in there for a couple minutes to sterilize.
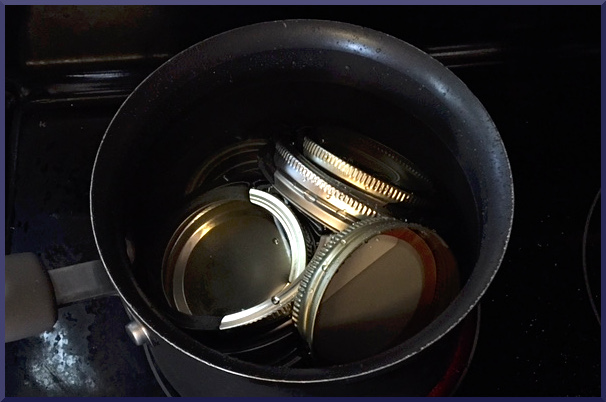
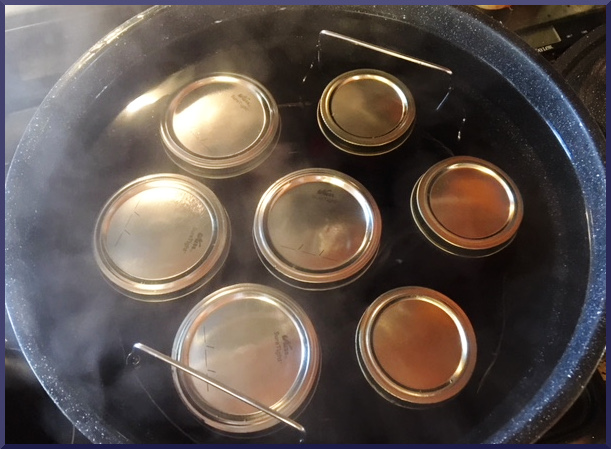
At this time you can also get your rings and lids ready by putting them in a small pot of boiling water. I just set them in the pot of water, bring it to a boil and then turn it off once it’s boiling. The lids can sit in the hot water until you are ready to put them on the jars.
Now that your jars are sterilized, pull them out of the canner with the jar grabber and carefully dump the hot water out of them back into the canner. If you need to sterilize more jars, go ahead and place some more in there after you take the first ones out.
Time to get the brine ready! I used a 4:1 ratio for the sugar and water. So add 4 cups of water and 1 cup of sugar to a cooking pot.
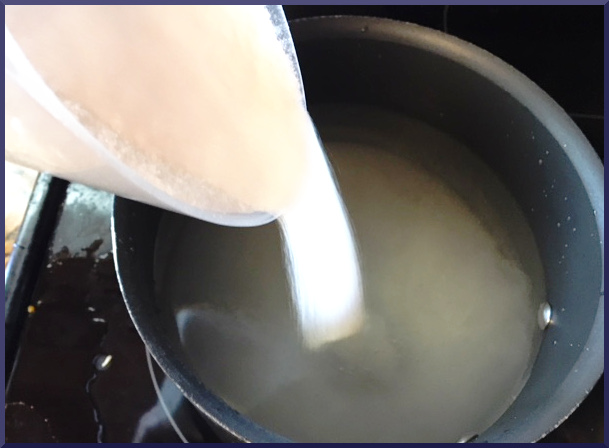
Then add your spices. I used cloves, allspice and anise seed. Bring this brine to a boil and stir, making sure the sugar is fully dissolved.
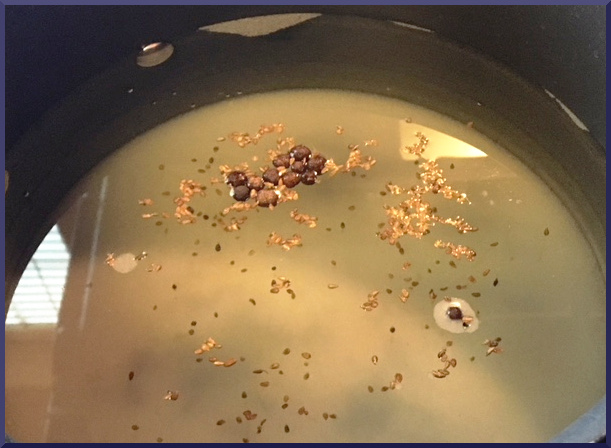
While your brine is coming to a boil you can start filling your jars with plums. I found that anywhere from 10-12 purple plums fit per jar. Leave about 1 inch from the top of the jars. Be sure not to pack them too tight as you don’t want to squish them!

Now that the plums are in the jars, go ahead and begin filling the jars with the hot brine, allowing some of the spices to go into each jar as well. Fill to about 1 inch from the top of the jars.
Wipe the top of each jar with a clean damp cloth (where the lids will sit and around the threads since they might be sticky). Then go ahead and place your lids and then tighten the rings on each jar.

Place the jars in the water bath canner. Be sure the water covers the jars by about an inch. You may need to add more water, but make sure to add hot water so it doesn’t cool the canner down too much (if you have to add more water, wait until it starts boiling again before placing the jars into the canner). After placing the jars in the canner, bring replace the lid. Bring the water back to a boil and leave the jars to process in the canner for 25 minutes. Be sure to set your timer!
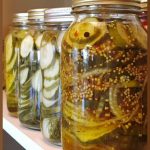
Once the time is up, use your jar grabber to take the jars out and set them on a dish towel on the counter with space between them to cool. After they have cooled, press the top of each lid to be sure they have all sealed. If you press the lid and it pops back up, the jar did not seal and you’ll need to put it in the fridge. I would not try to reprocess it in the canner.
If all went well and they’re all sealed, then you can store your home canned plums for later use, whether to just eat out of the jar, or use in a recipe that calls for canned plums. Enjoy!!

- 4 quart Canning Jars
- 4.5 lbs Purple plums
- 4 cups Water
- 1 cup Sugar
- 12 pieces Whole Allspice Optional
- 12 pieces Whole cloves Optional
- 1/2 tsp Anise seed Optional....can also use Star Anise as well
- 1 stick Cinnamon Optional (if you use cinnamon, you can cut it into fourths and add to each jar before putting the lids on
-
Fill water bath canner 3/4 full with water. Turn stove top on high
-
While waiting for canner to boil, wash plums and remove stems
-
Place lids and rings in boiling pot of water to sanitize, then turn off and let sit until you are ready to use them.
-
Wash jars thoroughly. Once the canner water begins to boil, place jars 3 at a time into the canner on their sides so the water can get inside them. Leave to sanitize a couple of minutes, then pull them out with the jar lifter and set on a dish towel.
-
Once the jars are sanitized, you can begin filling them with the plums. 10-12 plums should fit in each jar. Leave 1 inch space from the top of the jar. Do not press them down as this could squish them.
-
Add the water, sugar and spices (if using) to a pot and bring to a boil. Once boiling, turn off the stove top and pour the hot brine into the jars. Be sure to leave 1 inch space from the top of the jar.
-
Wipe the tops of the jars and around the threads with a clean, damp cloth. Put the lids on and tighten the rings.
-
Set the filled jars into the water bath canner and bring it back to a boil. You might need to add more water to be sure the tops of the jars are covered by 1 inch of water. Once the water is boiling again, set the timer for 20min. After 20min. , pull the jars out of the canner with the jar lifter and set on a dish towel on the counter, not allowing the jars to touch.
-
Let cool. Once the jars are cool, check that the lids have sealed by pressing down on each lid. If the center of the lid pops back up, it did not seal and you will need to put that jar in the refrigerator.


Leave a Reply